
How to Dial In Your Espresso Grinder Without a Scale
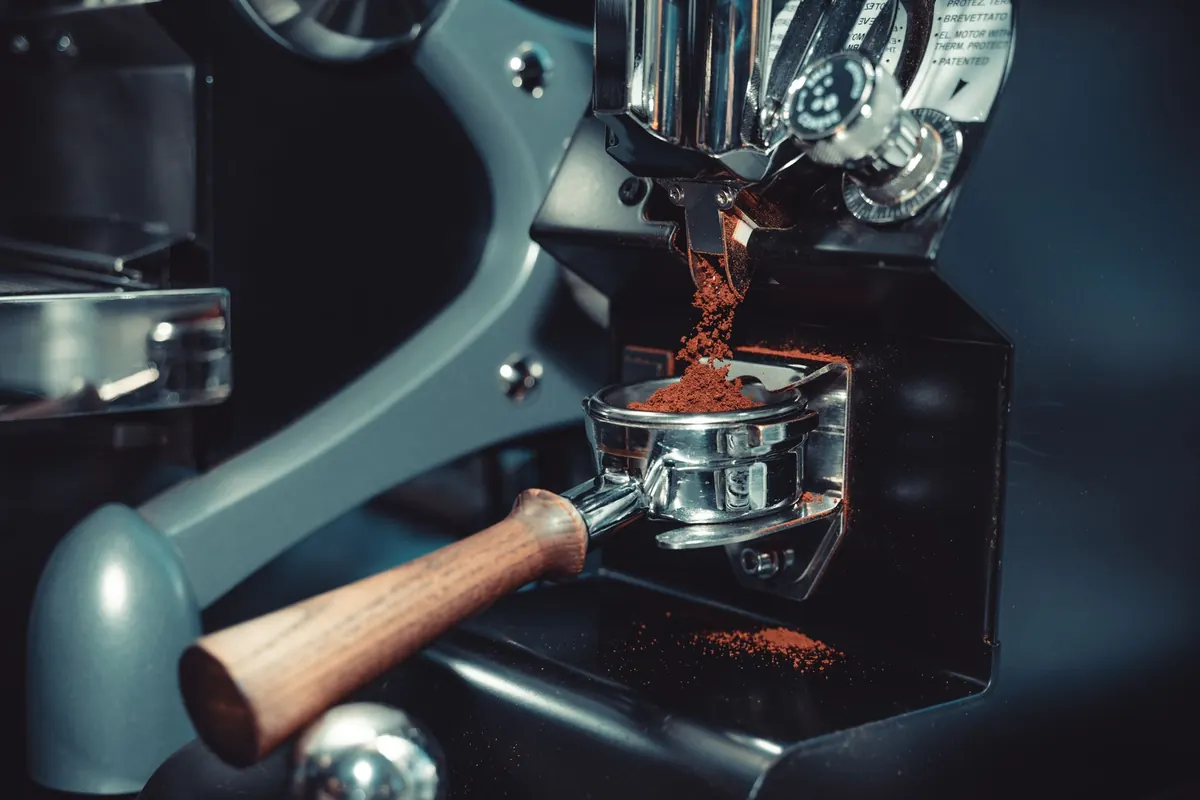
A scale makes espresso easier to repeat, but it is not a requirement for good coffee. If you have a grinder, an espresso machine, a timer, and a tongue, you can dial in a shot. The trick is to replace numbers with routine: keep the dose steady by volume, stop the shot at the same point every time, and let the clock and the taste in the cup tell you which way to move the grind.
What You Are Actually Adjusting
Grind size changes how quickly water moves through the coffee. Finer grounds pack more tightly and slow the shot; coarser grounds let water pass faster. In a perfect world, you would hold dose and yield steady, change only the grind, and taste the difference. Without a scale, you cannot hold dose to the gram, but you can hold it to a repeatable volume and keep your routine identical.
That means the method is not about hitting a perfect 18 grams or a precise 36 grams out. It is about building a shot you can repeat and then nudging the grind until that shot tastes balanced. Time is your steering wheel. Taste is the road.
Build a Repeatable Baseline First
Before you change the grind, make everything else boring. Use the same basket, the same coffee, and the same preparation. If you switch beans halfway through, you are starting over. If you tap the portafilter sometimes and not others, you are changing the dose without knowing it.
Keep the dose steady by volume
Use a scoop or small cup to add grounds to the basket, then level the top with a straight edge. Do not press down or tap to settle more coffee in unless you do it exactly the same way every time. Fill to the same visual level, level off, and tamp with the same pressure. Tamp pressure matters less than consistency; a firm, even tamp is enough.
Your dose will drift slightly as the grind gets finer or coarser, because finer grounds pack more mass into the same volume. That is one reason to make small grind changes and not chase perfection. Keep the basket fill method identical, and if the puck starts hitting the shower screen or the basket overflows, reassess the dose rather than forcing it.
Pick a yield stop point
Choose a small cup or shot glass and mark a line where you want the shot to finish. Use that same cup, same line, and same machine settings. Stop the shot by volume at that mark every time. Crema will change the volume a little, so do not expect laboratory precision. The goal is a consistent stopping point, not a perfect millilitre count.
For timing, pick either pump start or first drop and stick with it. Many people time from pump start because it is easy to hear and repeat. If your machine has pre-infusion, include it in the routine. The number itself matters less than comparing like with like.
Pull the First Shot and Write It Down
Warm up the machine properly, grind, prepare the puck, and start your timer. Watch the flow: does it begin as thin dark streams, or does it gush and blonde almost immediately? Stop at your marked line. Note the time and taste the shot when it has cooled enough to sip.
- Time: record the total time from your chosen start point to your stop point.
- Flow: note whether it was fast, slow, uneven, or steady.
- Taste: write down the first words that come to mind—sharp, sour, bitter, dry, watery, syrupy.
- Finish: notice whether the taste fades quickly or lingers unpleasantly.
This takes less than a minute and gives you a baseline. Without a scale, your notes are your memory. A phone note is fine. The point is to compare the next shot with the last one, not to judge it against a standard you cannot measure.
Read the Shot: Fast, Slow, and In Between
Shot time is a clue, not a verdict. A useful starting window for many home setups is roughly 25 to 35 seconds from pump start, but your basket, dose, machine, and beans can shift that. Use your own baseline.
If the shot runs fast
If the espresso races out, looks pale, and tastes sharp or watery, the water is moving too easily. Grind finer. Make a small adjustment—one click or notch on a stepped grinder, a tiny nudge on a stepless one. Purge the grinder to clear old grounds, then pull another shot with the same dose routine and the same stop point.
If the shot runs slow
If the shot drips, stalls, or takes much longer than your baseline and tastes bitter or drying, grind coarser. Again, keep the change small. A big jump can send you from sour to bitter in one shot and teach you nothing.
If the time looks fine but the taste does not
Do not ignore your tongue just because the clock looks respectable. A shot can hit 30 seconds and still taste thin or harsh if the puck channeled or the beans are stale. Check your preparation first: level grounds, even tamp, clean basket, no loose clumps. If the flow was uneven, fix that before you move the grind.
Make One Small Grind Change at a Time
Dialing in is a loop, not a single decision. Change one variable, repeat the shot, taste, and decide again. Keep the dose routine and the stop point fixed while you work on grind.
- Purge a little coffee through the grinder after each adjustment.
- Move the grind one small step finer if the shot is fast and sour.
- Move it one small step coarser if the shot is slow and bitter.
- Pull the shot with the same preparation and stop at the same line.
- Taste when warm, not scalding, and compare with your notes.
Change one thing, keep the rest still, and let taste confirm what the timer suggests.
If two shots in a row taste wildly different with the same settings, the problem is probably preparation or consistency, not the grind setting. Fix the routine before you chase the grinder.
Taste Clues That Point to Grind
Espresso tasting is not about finding fancy words. It is about noticing direction. Under-extracted coffee tends to taste sharp, sour, salty, or thin. Over-extracted coffee tends to taste bitter, dry, ashy, or hollow. Body gives another clue: watery suggests you are under-extracting; heavy and cloying can suggest over-extraction or too much yield.
If the shot is sour but the time is already long, look for channeling or uneven extraction rather than grinding finer and finer. If the shot is bitter but the time is short, check water temperature, bean freshness, and puck preparation. Grind is powerful, but it is not the only lever.
When Not to Touch the Grinder
Some problems look like grind problems but are not. If the flow spurts from one side, blondes early, or leaves a crater in the puck, work on distribution and tamp. If the beans are very fresh and gassy, shots may be inconsistent for a few days; let them rest. If the machine is dirty or the basket is clogged, clean it before adjusting. If you changed your stop point or your scoop, go back to the baseline first.
A Simple Scale-Free Routine to Keep
Use the same basket and the same scoop. Fill to the same level, level off, and tamp evenly. Start the timer at the same point, stop at the same mark on the same cup, and taste. If the shot is fast and sour, grind finer. If it is slow and bitter, grind coarser. Change one small step, purge, and repeat. Write down the time and the taste so you can compare the next shot with the last.
That routine will not give you a perfect recipe on paper, but it will give you something more useful: a repeatable shot that you can adjust by feel and flavour. A scale can come later. For now, trust the clock, keep the routine steady, and let the cup tell you when the grind is right.
Photo: Denys Gromov / Pexels